Growing hops in Ohio can present a number of challenges; spring temperature swings can be unpredictable, requiring frost protection into late May, spring rain and summer humidity can promote disease, but with preparation and maintenance most issues can be avoided.
I grow hops on a small, homebrewer scale, so please don’t start your new hop farm solely on the information you’ll find here. It is still accurate and would prove beneficial on a larger scale, however I won’t cover the installation of 20′ poles, anchoring aircraft cables and related requirements at that scale.
Site Selection
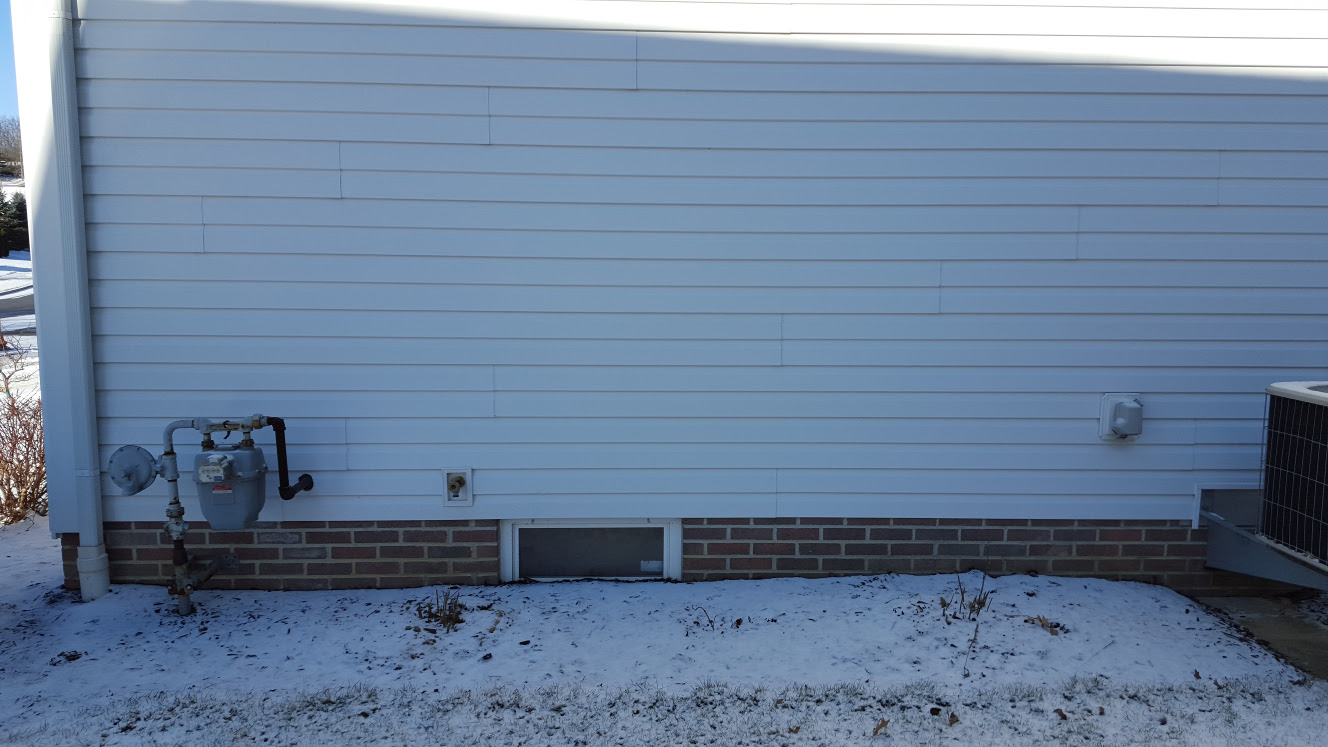
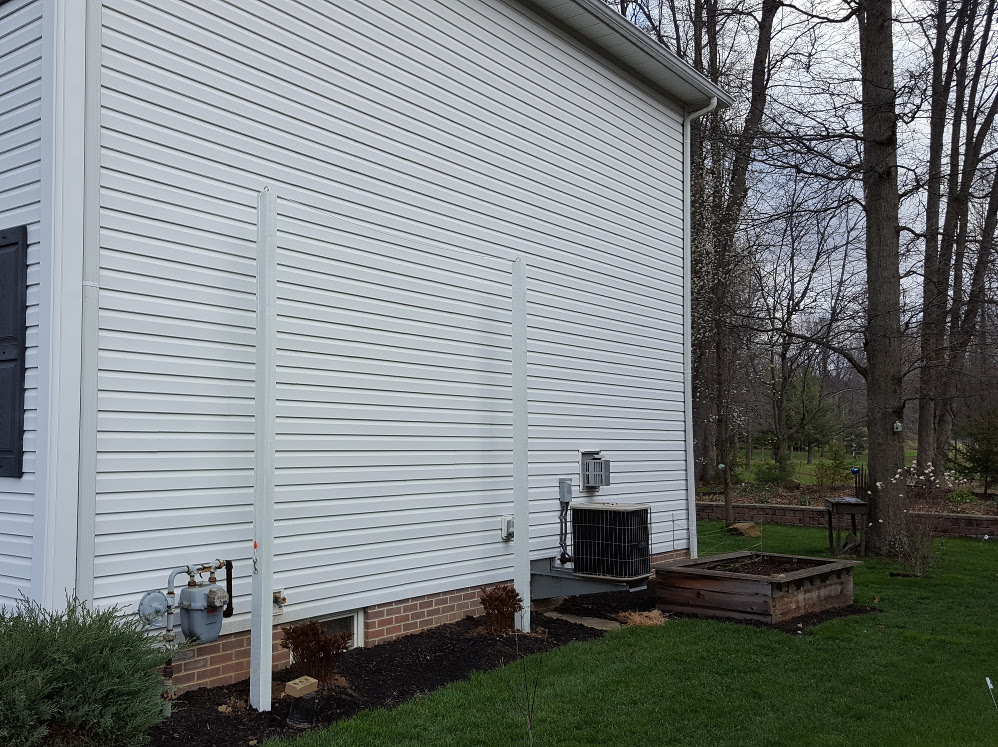
If you have the space, the best location for growing hops would be a southern facing location where they get sun all day, however if you, like me, do not have a spare field, smaller locations will still produce a large number of hops. I chose a location on the southeast side of my home. It provides direct sunlight from dawn until 3PM and the mature hops also help to cool the house on hot summer days.
Choosing a location and making plans for spring helps to pass the time on a cold winter day.

Site Preparation
When choosing a location it is best to choose a site that is clear of other plants and weeds. If you are planting similar varieties, space your hops about 4′ apart, however when planting different varieties it is best to allow more space. This is a lesson I’ve learned the hard way as hops will reach out for anything to latch onto and a 4′ span isn’t that far for a mature hop. Once the hop bines have intermingled, determining which cone is a Cascade and which is a Willamette isn’t easy.
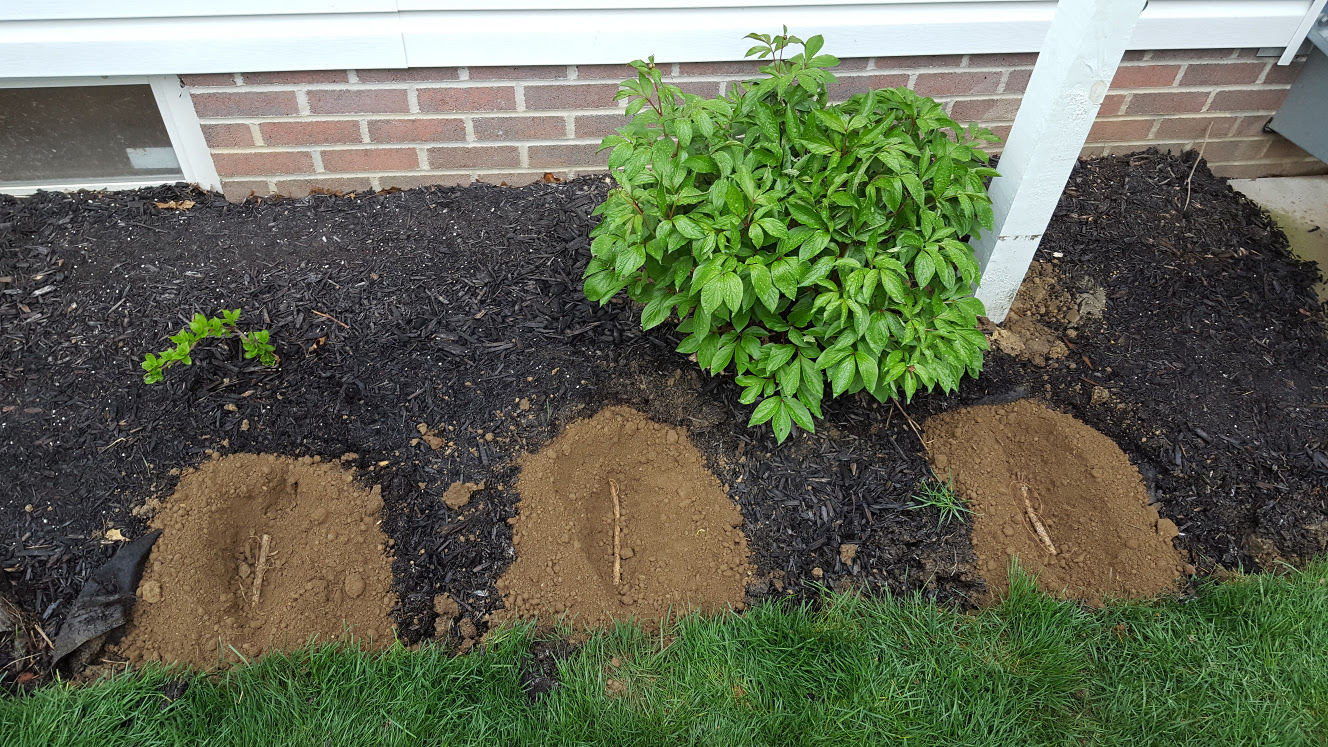
If you have clay soil, I would recommend digging a large hole for each rhizome or live plant and backfilling with a soil that isn’t as dense. I have had success using potting soil amended with compost in a 2’x2’x2′ hole, placing the rhizomes at ground level and mounding the dirt.
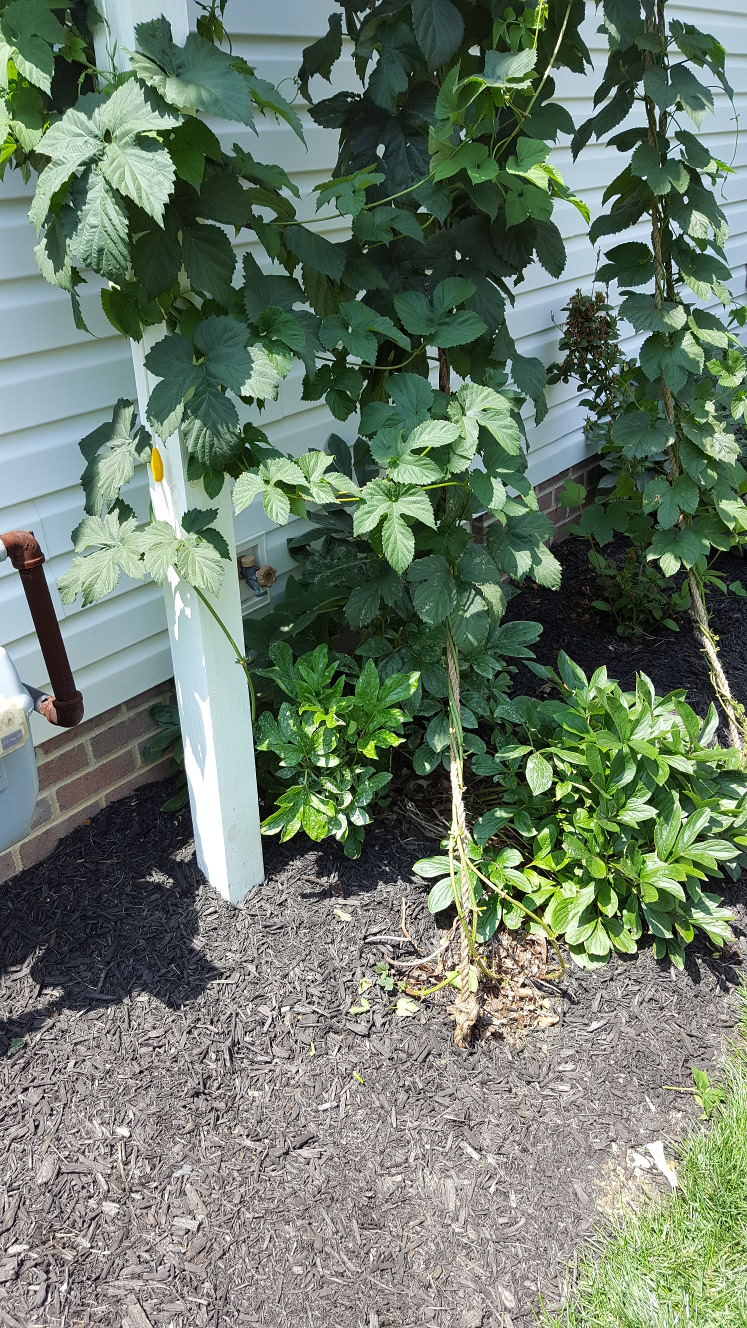
In the image below you can see the existing plants in the location I chose. I later had to move them due to overcrowding.
Trellis Design
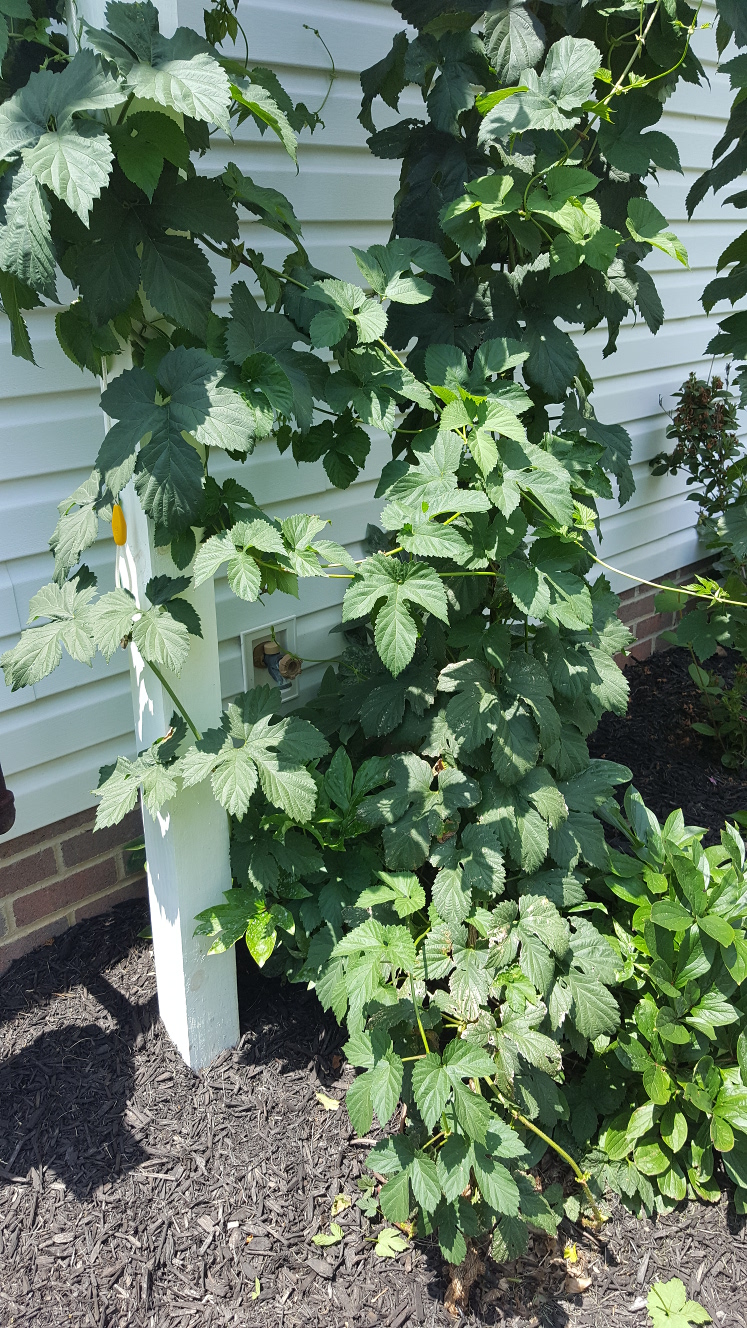
I’ve built two separate trellises for growing hops. The original 6′ trellis was designed to look nice and replace a row of dying arborvitaes. I’ve had mild success growing hops on it, but ultimately it is too short and shaded later in the summer.
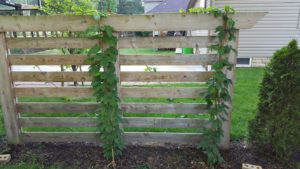
The newer 10′ trellis has a better location and produces significantly more hops. Each end is a 12′ 4×4, anchored with 80 lbs of concrete, with a dog run cable strung through screw eye bolts located at the top of each pole to attach the sisal or coir ropes.
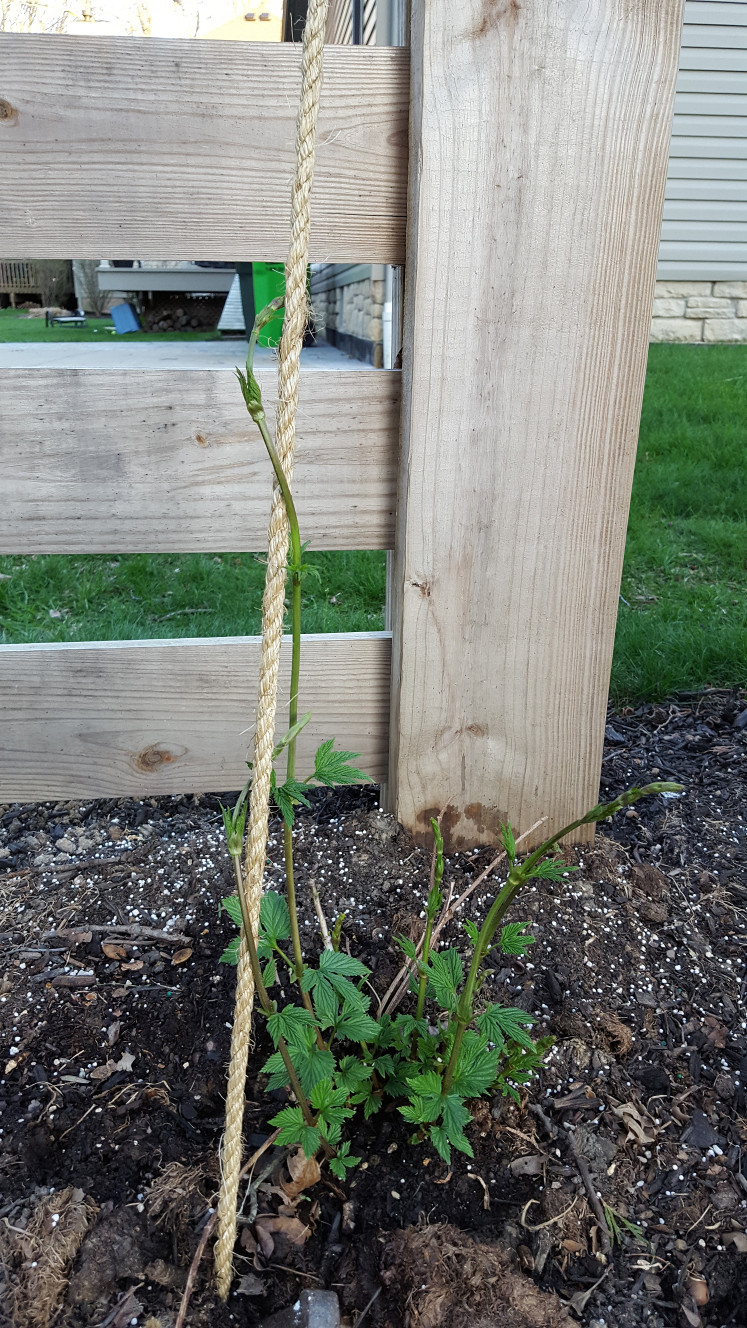
Bine Selection
For a first year plant it is best to either allow the plant to spread over the ground or train all of the bines to promote adequate root growth. For mature plants, I choose 2~3 bines to train for each hop. Due to a concern for an early frost, I don’t use the first bines and instead choose them over a 2 week period in mid to late May. Any unused bines are trimmed and used to clone new plants. Coir rope is often recommended, however any coarse biodegradable material will work. I train my plants onto sisal because it is readily available in my area.
Plant Maintenance
In March, before the hops have started growing, I fertilize with a high nitrogen (32-0-5) fertilizer and continue this once per week until the hops have reached the top of the trellis, typically by the end of May. I will also apply a 12-12-12 fertilizer once per month throughout the entire spring and summer.
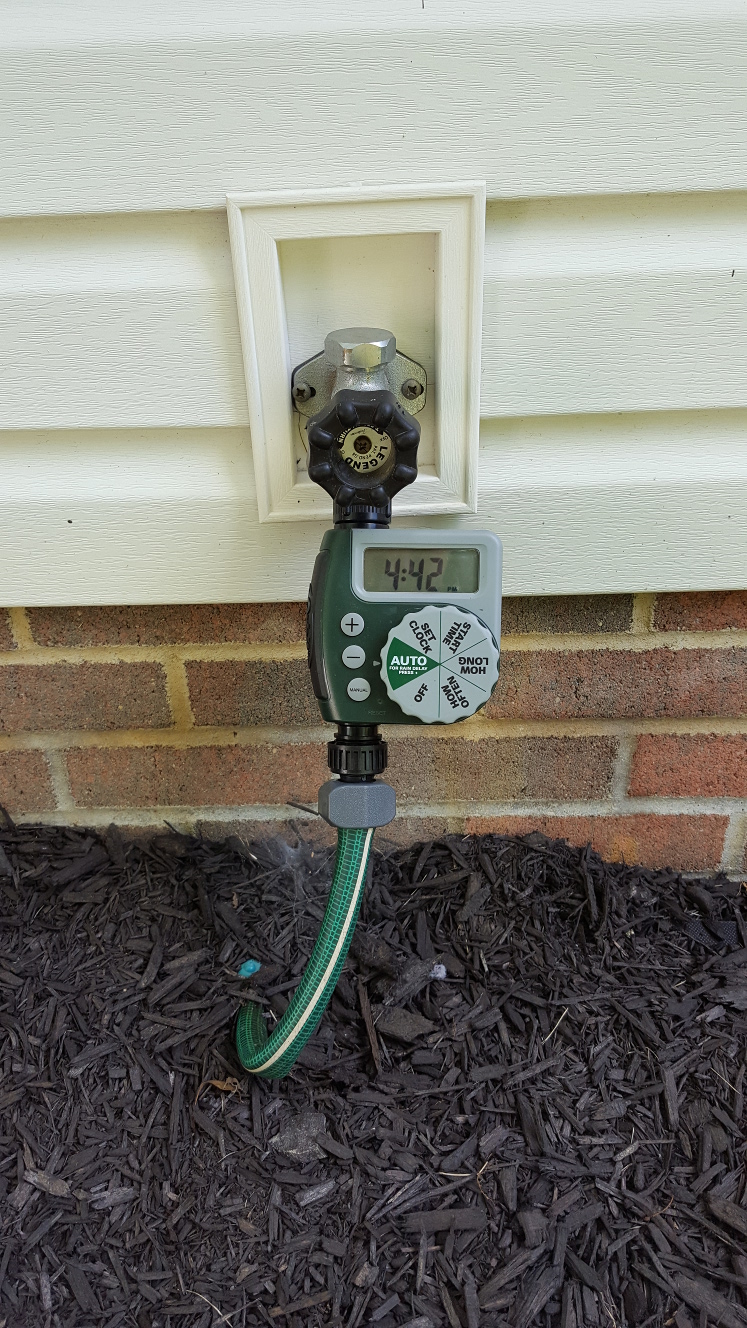
My plants are watered for 15 minutes each morning and evening, rain or shine, via the same system that maintains the moisture content in the heavy clay soil surrounding my house. To accomplish this, I simply added an extension to extend the soaker hose around the hop crowns.
After the hops have reached the top of the trellis, it is best to remove the leaves from the bottom of the 3′ of the plant, trimming only a few leaves per day to avoid shocking the plant. This reduces the occurrence of downy mildew and some insect infestations.
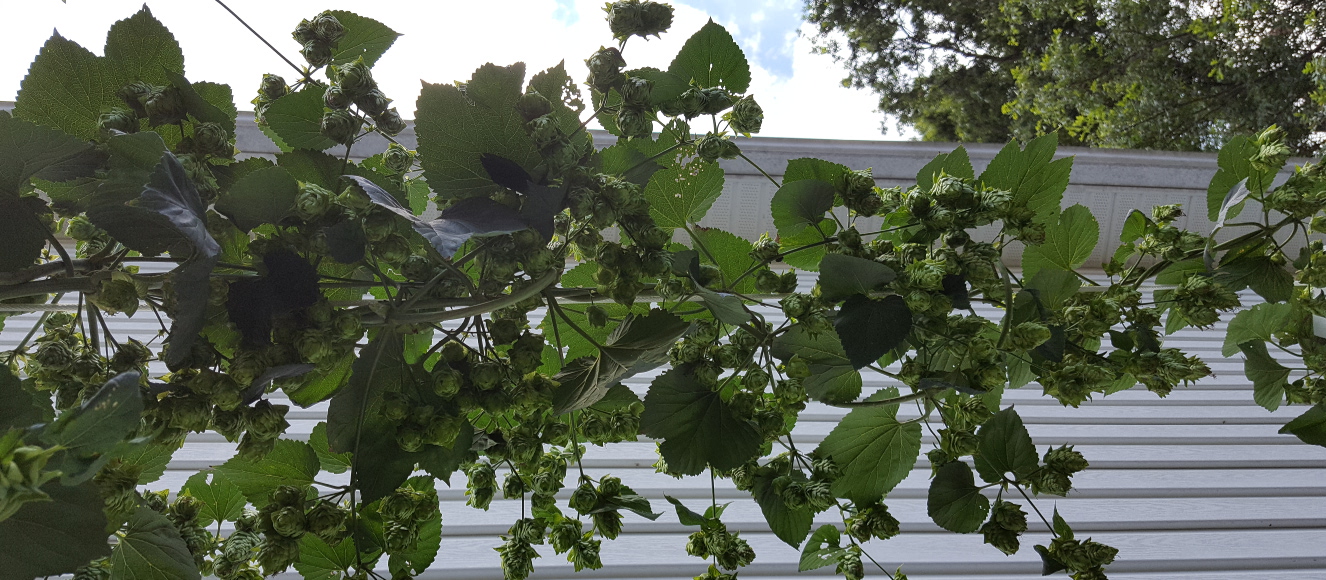
Harvesting
There are a couple of ways to determine that your hops are ready to harvest, either by squeezing a cone and having it snap back into shape once released or by weighing a cone pre and post drying and determining that less than 1/2 of the weight was moisture content. In Northeast Ohio, this is typically mid to late August.
For a first year plant it is best to pick the cones by hand and let the plant remain to help build the roots for next year. For more mature plants you can cut the bine down, leaving a few feet of bine to avoid damage to the hop’s crown or root system.
I dry my hops on window screens over fans, however you can also use a food dehydrator or air hockey table. The most important thing to keep in mind is that once picked, the hops don’t like light and heat any more than your freshly brewed batch, so keep it in the dark and keep the temperature below 140°. After you’ve dried the hops, I find it is best to vacuum seal and freeze them to avoid oxidation.
Winterizing
In the fall, once the hop has gone dormant, I cover it with a thick layer of compost and mulch. This helps to add some nutrients back into the soil and protect the hop from the harsh winter weather.
Happy harvesting!